

The Single Implant Crown: A restorative workflow for GDPs

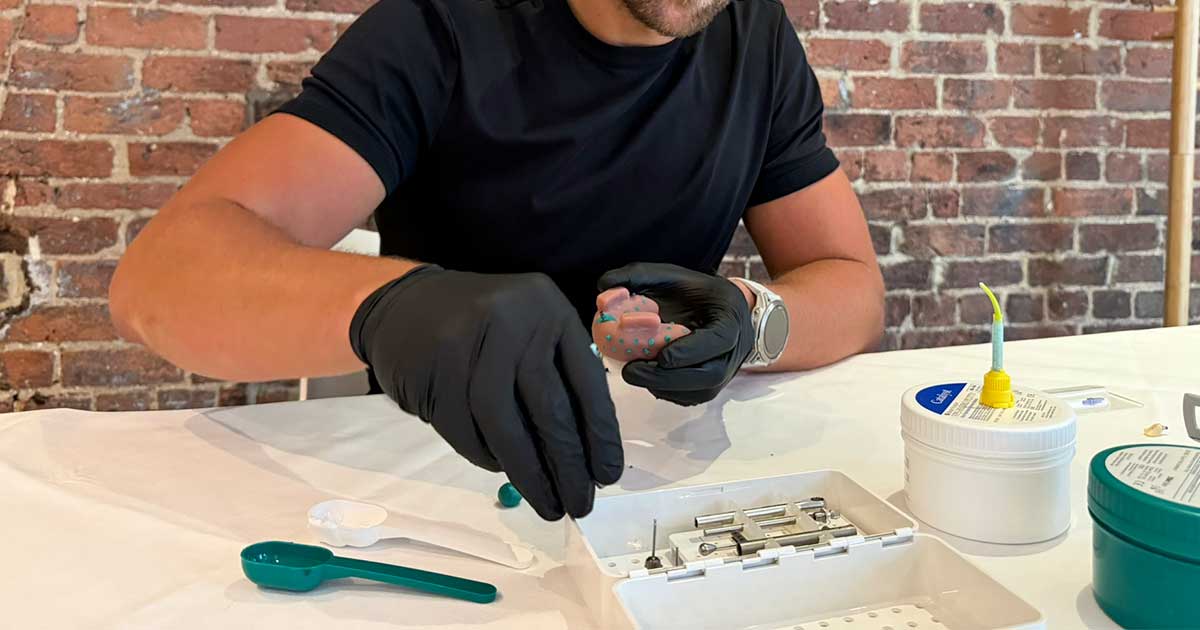
For a dentist new to implant restoration, the single implant crown is an excellent workflow to understand first.
At first glance, implant restorations can appear complicated.
There are unfamiliar components, different implant connections, laboratory stages, impression options and manufacturer-specific protocols.
But once the process is broken down, the restorative workflow becomes much more structured.
The key is not simply learning what to do.
It is understanding what you are trying to achieve at each stage.
Here is a practical overview.
Stage 1: Start with the final restoration
Good implant treatment is restoratively driven.
The starting point should not simply be:
"Where can an implant be placed?"
It should be:
"Where does the final tooth need to be?"
The planned crown position influences:
- implant position;
- angulation;
- emergence profile;
- available restorative space;
- screw-access position;
- occlusion; and
- aesthetic outcome.
For that reason, communication between the restorative dentist and implant surgeon should ideally begin before implant placement, not after it.
Stage 2: Assess whether the case is appropriate
Before taking responsibility for the restoration, assess the case rather than treating the implant as an isolated screw in bone.
Consider:
Patient factors
- medical history;
- smoking;
- previous periodontal disease;
- oral hygiene;
- expectations;
- ability to maintain the restoration.
Restorative factors
- tooth position;
- restorative space;
- adjacent teeth;
- opposing dentition;
- occlusal relationships;
- parafunction;
- aesthetic demands.
Implant factors
- implant position;
- implant angulation;
- depth;
- prosthetic connection;
- soft-tissue profile;
- accessibility;
- implant system.
If something doesn't look straightforward, establish why before proceeding.
Stage 3: Identify the implant system and restorative connection
Never start an implant restorative appointment without knowing what implant you are restoring.
You should ideally have:
- manufacturer;
- implant system;
- prosthetic platform;
- connection type;
- relevant component information.
This determines which:
- impression coping;
- scan body;
- analogue;
- screwdriver;
- restorative components; and
- prosthetic screws
are compatible with the implant.
"Looks approximately right" is not an acceptable way to select implant components.
Stage 4: Assess the peri-implant tissues
Before taking the definitive impression or scan, examine the restorative site.
Look at:
- tissue health;
- emergence profile;
- tissue thickness;
- accessibility;
- healing component;
- restorative space.
The soft tissue should be appropriate for the planned restorative procedure.
Where there is inflammation, uncertainty or an abnormal clinical finding, investigate and manage this before simply proceeding to the definitive crown.
Stage 5: Decide between a digital or conventional impression
There are two principal routes for transferring implant position to the dental laboratory.
Digital
A compatible scan body is connected to the implant or abutment.
The intraoral scanner records the scan body and surrounding dentition, and the relevant digital library allows the software to translate this information into the position and orientation of the implant.
Straumann describes its scan body as representing the implant, analogue or abutment's position and orientation within the CAD/CAM workflow.
Conventional
A compatible impression coping is attached to the implant.
Depending on the implant system and situation, this may use:
- a closed-tray technique; or
- an open-tray/pick-up technique.
The laboratory then uses the impression and analogue to reproduce the implant position on the working model.
For straightforward single-unit cases, both digital and conventional workflows can produce successful clinical outcomes. Clinical research has also shown efficiency and patient-preference advantages for digital impressions in single-implant situations.
A competent restorative dentist should understand the principles of both.
Stage 6: Get the impression component fully seated
This is one of the most important practical details in implant restoration.
Whether using a scan body or conventional impression coping, incomplete seating can result in an inaccurate representation of implant position.
With scan bodies, manufacturer instructions emphasise:
- selecting the correct scan body;
- checking proper fit;
- ensuring there is no inappropriate rotational or vertical looseness;
- confirming complete seating;
- correct orientation; and
- following the scanner manufacturer's scanning protocol.
A technically perfect scan of an incorrectly seated scan body is still an incorrect implant impression.
Stage 7: Give the laboratory the information it needs
The dental technician should not have to reconstruct the clinical situation from incomplete information.
Your prescription should make the intended restoration clear.
Depending on the case, communicate:
- implant system/platform;
- restorative connection;
- desired restoration type;
- screw- or cement-retention;
- shade;
- material;
- occlusal requirements;
- emergence profile;
- soft-tissue considerations;
- opposing dentition;
- photographs where useful.
Good implant restoration is a collaboration between clinician and technician.
Stage 8: Assess the definitive crown before tightening it
Do not immediately torque the restoration simply because it appears to fit.
First assess it.
Consider:
Seating
Is the restoration completely seated?
Contacts
Are proximal contacts appropriate?
Emergence
Does the emergence profile support the tissues appropriately without excessive pressure?
Aesthetics
Do contour, shade and position integrate with the adjacent teeth?
Screw access
Where does the screw-access channel emerge?
Occlusion
How does the crown contact in intercuspal position and during excursions?
When seating is uncertain, appropriate radiographic assessment may be helpful before finalising the restoration.
Stage 9: Tighten according to the implant manufacturer's protocol
There is no single universal torque value for every implant crown.
The correct value depends upon:
- implant system;
- restorative component;
- screw;
- interface; and
- manufacturer's instructions.
Use the appropriate calibrated torque device and follow the relevant manufacturer's instructions.
This is one reason knowing exactly which system you are restoring is so important.
Stage 10: Manage the screw-access channel
For a screw-retained restoration, the access channel needs to be sealed in a way that protects the prosthetic screw while allowing future retrievability.
The precise technique and materials used will vary.
The principle is to avoid permanently burying the screw beneath restorative material that makes later access unnecessarily destructive.
Retrievability is one of the attractions of screw-retained implant restorations.
Stage 11: Establish maintenance and review
The crown-fit appointment is not the end of the implant journey.
The patient needs ongoing monitoring.
Review should consider:
- peri-implant tissue health;
- oral hygiene;
- plaque control;
- occlusion;
- restoration integrity;
- mechanical complications;
- biological complications;
- appropriate radiographic review when clinically indicated.
The patient should also understand how to clean around the implant restoration and when to seek advice.
A repeatable implant crown checklist
For a straightforward screw-retained single implant crown, a useful mental framework is:
Assess → identify → impression → communicate → try in → verify → torque → seal → maintain.
Once that sequence becomes familiar, implant restoration feels considerably less mysterious.
The challenge for dentists new to the workflow is that reading the sequence and performing it confidently are two different things.
Handling the components matters.
Learn the workflow by actually doing it
Engage One: The Single Implant Crown is a hands-on implant restoration course for GDPs.
You'll practise the clinical workflow yourself, including:
- component identification;
- scan-body placement;
- conventional implant impressions;
- digital workflows;
- fitting a screw-retained implant crown;
- using a torque driver;
- seating verification;
- occlusal assessment; and
- screw-access sealing.
Hands-on exercises use the Straumann BLC implant system, while the underlying restorative principles are taught to be transferable to other implant systems.
Clinical note: This overview is intended for dental professional education. Actual treatment must be based on individual patient assessment, clinician competence and the instructions for the implant system and restorative components being used.