

How to Verify That an Implant Crown Is Fully Seated

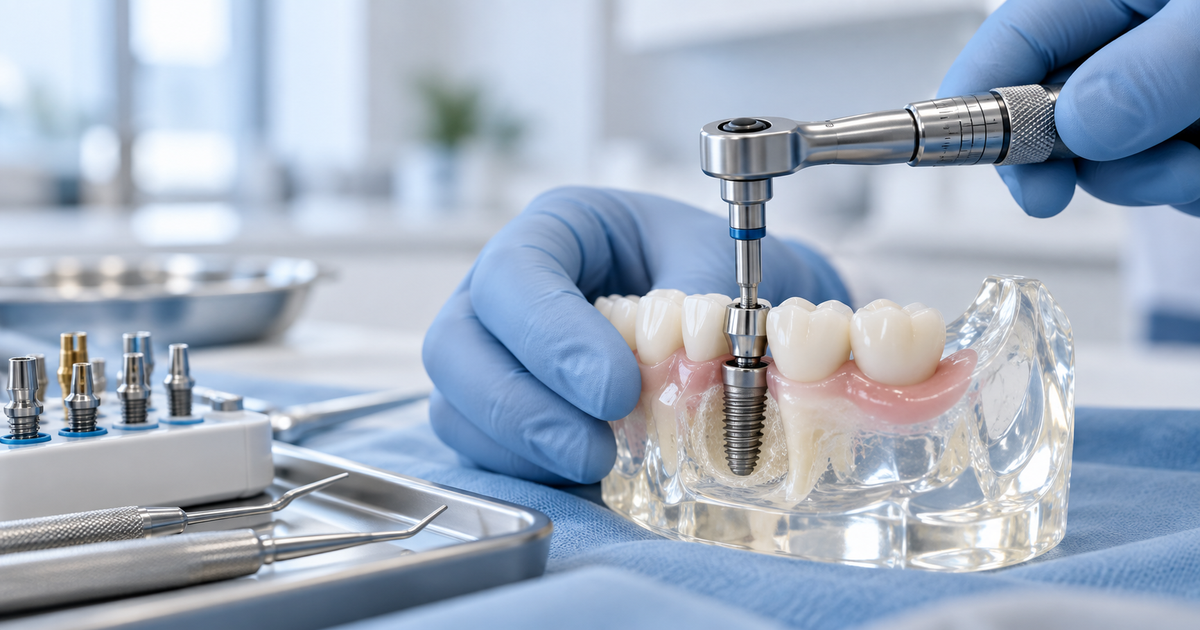
A screw-retained implant crown can look asthough it is in place while the restorative interface is still not completelyseated. That is why seating verification is one of the most important steps inthe fit appointment.
Unlike a conventional crown, an implantrestoration engages a precision-manufactured connection. A small discrepancy atthat interface can affect screw-joint stability, component position, occlusionand long-term maintenance.
The aim is not to take a radiograph ofevery component automatically. It is to have a reliable process for confirmingcomplete seating and to use additional verification when the clinical situationrequires it.
What does “fully seated” mean?
Complete seating means the intendedrestorative interface is fully engaged with the implant or abutment in theposition for which it was designed. There should not be an unintended verticalgap, soft-tissue entrapment or partial rotational engagement.
For an indexed single-unit restoration, theanti-rotational features also need to engage correctly. A screw can begin totighten even when the restoration is not correctly positioned, so screwresistance alone is not a seating test.
Start with the information you already have
Before fitting, confirm the implant system,platform and restoration supplied by the laboratory. If the wrong component hasbeen manufactured or supplied, no amount of chairside adjustment will create acorrect implant interface.
Inspect the internal or basal aspect of thecrown for debris, excess luting material around a Ti-base, damage or anythingthat could prevent engagement.
Clinical signs of correct seating
Depending on the location and componentdesign, you may be able to assess the interface directly or indirectly. Therestoration should engage positively, should not rock and should have theexpected rotational stability.
Proximal contacts and soft-tissue contoursshould allow the crown to reach its intended position without excessive force.If the crown stops short, do not immediately reach for the torque wrench.
When a periapical radiograph is useful
A well-positioned periapical radiograph canbe very helpful when the interface is subgingival, visibility is limited orthere is clinical uncertainty. The projection needs to be appropriate; anoblique beam can make interpretation difficult and can either hide orexaggerate an apparent gap.
The decision to expose a radiograph shouldbe justified for that individual clinical situation in line with UKradiographic principles. Use it to answer a clinical question, not as a ritual.
What are you looking for radiographically?
Look for continuity between the restorationor abutment interface and the implant, and compare the appearance with what isexpected for that system. A radiolucent separation at an interface that shouldbe closed is a reason to reassess.
Be aware that restorative geometry, beamangle and superimposition can complicate interpretation. If you are unfamiliarwith the system, obtain the relevant component information rather than guessingfrom the radiograph alone.
Common reason 1: tight proximal contact
An implant crown may contact an adjacenttooth before the implant interface is fully seated. This is particularly easyto miss when there is enough screw engagement to make the restoration feelstable.
Check contact sequentially and adjustcarefully if appropriate. The goal is a normal functional contact with completeimplant seating, not simply making floss pass.
Common reason 2: soft-tissue interference
Peri-implant soft tissues may collapseafter removal of the healing abutment or may be compressed by the restorativecontour. Tissue entrapment at the interface can prevent complete seating.
Work gently, maintain visibility wherepossible and do not use the screw to crush tissue into the connection. If theemergence profile is inappropriate, the case may require a differentrestorative or tissue-management approach.
Common reason 3: debris or component mismatch
Blood, calculus-like deposits, restorativedebris, impression material remnants or foreign material can obstruct aninterface. A wrong platform or incompatible component can also appeardeceptively close to fitting.
If seating is not straightforward, removethe restoration, inspect the components and reconfirm the implantidentification.
Common reason 4: crown or Ti-base issue
With a laboratory-bonded Ti-baserestoration, excess bonding material or an error at the crown/Ti-base assemblycan affect seating. Damage or distortion of the connection is anotherpossibility.
If the implant interface itself does notappear correct, avoid indiscriminate chairside modification. Discuss the casewith the technician or implant clinician and replace the component ifnecessary.
Only torque after seating is confirmed
Final torque is for securing a correctlyseated restoration, not for pulling a poorly fitting one into position. Onceyou are satisfied with seating, proceed with the specified torque protocol andthen complete the occlusal and screw-access stages.
If doubt remains, stopping and reassessingis safer than creating a mechanical complication that will be harder to managelater.
A useful chairside rule
Before final torque, be able to answer: Isit the correct component? Is the interface clean? Does the crown engage fullyand stably? Are contacts and tissues allowing complete seating? Do I needradiographic confirmation?
That five-question pause takes very littletime and can prevent a disproportionately large problem.
Related Engage reading
· Related Engage guide: The Single Implant Crown workflow
· Related Engage guide: Implant scan-body seating
Want to put this into practice?
Engage One includes hands-on crown fittingand seating verification so delegates can see what a correctly engagedrestorative connection looks and feels like before treating their own cases.
Clinical note: This article provides general educational information for dental professionals. Implant components, tightening protocols, impression procedures and restorative workflows vary by manufacturer and clinical situation. Always work within your personal competence and indemnity, use current manufacturer instructions, and refer when appropriate.
References and further reading
· GDC Scope of Practice guidance— https://www.gdc-uk.org/standards-guidance/standards-and-guidance/scope-of-practice
· Engage: The Single ImplantCrown restorative workflow — https://www.engageimplant.co.uk/blog/the-single-implant-crown-a-restorative-workflow-for-gdps
· Engage: What is an implant scanbody? — https://www.engageimplant.co.uk/blog/what-is-an-implant-scan-body-a-practical-guide-for-dentists